Tea, Dust and Silent Columns: A UK Bench Guide to Rescuing Tired Keyboards

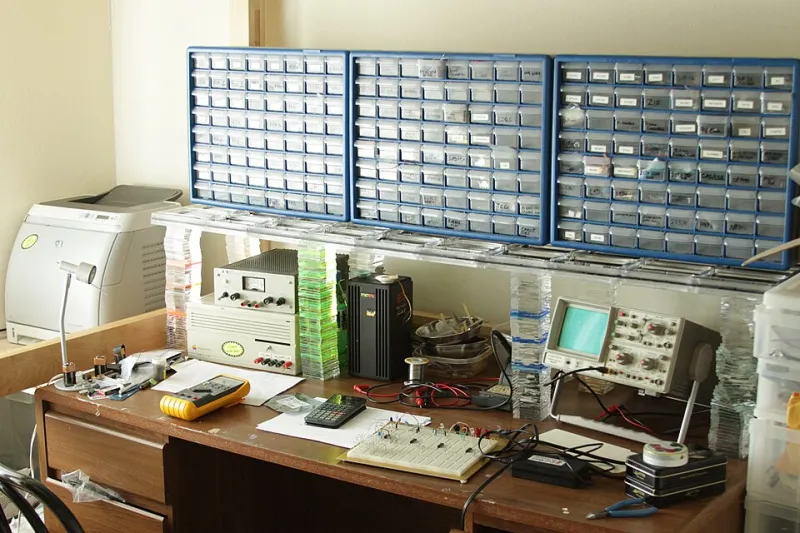
Photo: mechanical keyboard repair soldering iron multimeter desk, via m.media-amazon.com
A keyboard that has had a hard life usually tells you where it hurts before you take it apart. The trick is to listen. A whole board that is dead is a different problem from one silent column, and a sticky switch is a different job from a worn hot-swap socket. This is a bench guide for the UK enthusiast with a mug of tea, a multimeter and a reasonable amount of patience.
Diagnose before you dismantle
Unplug the board. Photograph everything. Test every key with a keyboard tester or a text editor and write down the pattern. Whole board dead? Check the cable, the port, the host and a firmware reset before you reach for a screwdriver. Several keys in a straight line? That is usually a matrix row or column. One key? Start with the keycap, then the switch, then the socket or solder joint. Intermittent faults? Wiggle the cable and press the PCB near the controller. Take notes. The board is not being difficult; it is giving you clues.
The tea-spill protocol
Spilled tea is not just wet; it is wet with sugar, milk and bad intentions. Unplug immediately. Do not power on to see if it still works. Turn the board upside down, remove keycaps if you can do it safely and blot what you can reach. For the PCB, use isopropyl alcohol at 90 per cent or higher on a lint-free cloth or soft brush. Do not soak it, do not put it in the dishwasher and do not use the airing cupboard as a drying strategy if the board is still assembled. Leave it to dry fully for at least 24 to 48 hours. If the spill was milky or sugary, clean the residue properly or it will come back as a crunchy, unreliable switch.
Sticky switches and crunchy keycaps
If the board is hot-swap, pull the sticky switch and fit a known-good one. That is the whole diagnosis. If it is soldered, you can try a little switch cleaner, but replacement is usually kinder. Keycaps can be washed in warm water with a drop of washing-up liquid, rinsed well and left to dry overnight. Avoid alcohol on printed or coated caps. Stabilisers should be cleaned and re-lubed rather than drowned in oil. A sticky spacebar is often old lube and biscuit crumbs, not a dead switch.
Dead columns and rows
A dead column usually means a broken trace, a failed diode or a loose joint between the switch and the PCB. Use a multimeter in continuity mode. Check the diode for that row or column, then follow the trace. Reflow suspect joints with a little flux and fresh solder. If a pad has lifted, a short bodge wire can save the board. This is fiddly but not magic. Work one joint at a time and test after every change.
Worn hot-swap sockets
Hot-swap sockets are brilliant until they are not. If a key drops out and comes back when you wiggle the switch, reseat the switch first. Check for bent pins. If the socket is loose, reflow its pads. If the pad is lifted, repair it with wire or retire that socket. Do not keep forcing thicker switch pins into a tired socket; you will make the damage worse. A small amount of Kapton tape can hold a repair in place while you work.
Tools and spares you can actually get in the UK
You do not need a laboratory. A decent soldering iron, fine solder, flux, a desoldering pump or wick, a multimeter, isopropyl alcohol, lint-free cloths, a soft brush, switch and keycap pullers, replacement switches, hot-swap sockets, diodes and some 30AWG wire will cover most jobs. Screwfix and Toolstation are good for basics. CPC Farnell, RS Components, The Pi Hut and Pimoroni are useful for electronics. UK keyboard vendors stock switches, keycaps and stabilisers. Buy a few spare switches before you need them.
When to retire a board rather than rescue it
Retire the board when the PCB has multiple lifted pads, the controller is dead and there is no firmware path, the case is warped or cracked beyond safe use, or the repair bill is more than a sensible replacement. Sentimental boards are the exception: if it was your first build, clean it, frame it or keep it for parts. Do not pour a weekend and £60 of tools into a £30 board unless you are learning. Learning is a valid reason. Saving money is not always.
A slow, kind bench routine
Work clean. Photograph each stage. Change one thing at a time. Test after every change. Keep screws in a tray and keep tea on the other side of the room. Most keyboards that have had a hard life can be rescued with patience, a few cheap parts and the willingness to stop before you make it worse. And if you do retire one, keep the good switches. They always come in handy.