The Honest Clack: Recording Keyboard Sound Tests That Don’t Lie to You
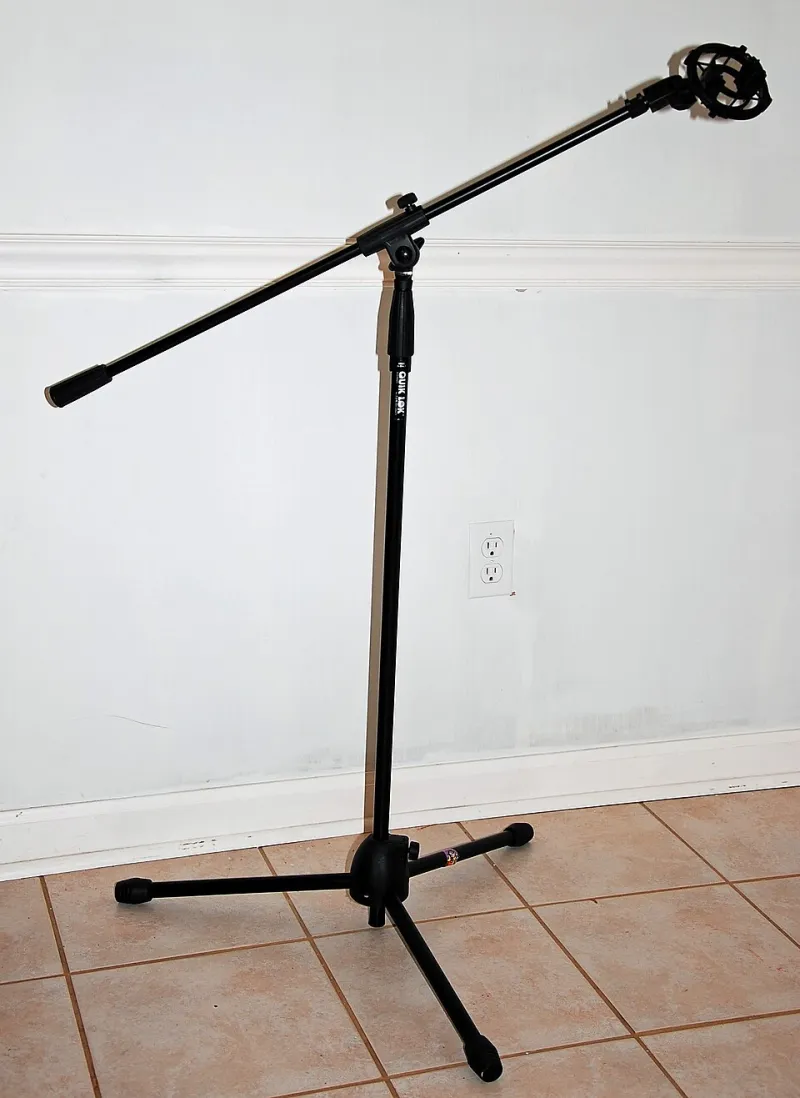
Photo: Bubba73 (Jud McCranie), CC BY-SA 3.0, via Wikimedia Commons
You press a single key. In the room it is a soft, rounded clack with a little case ping. On your phone it becomes a compressed rattle, as if someone is shaking a box of cutlery inside a biscuit tin. Sound tests are supposed to help us compare switches and builds, but too many of them are really tests of a phone's automatic gain control and a room's worst reflection.
The good news is that honest keyboard recordings do not require a studio. They require a repeatable setup, a quiet half-hour and a refusal to chase the sound of the week. This is the Keyboard Creations approach: keep it simple, keep it consistent and listen back like an editor rather than a fan.
The room is part of the recording
Most UK homes are not acoustically neutral. A semi-detached living room with a bay window, a laminate floor and a radiator will bounce sound around; a box room with a boiler cupboard will add a low hum you stop noticing until you record it. Before you blame the microphone, listen to the room. Can you hear traffic, a fridge, a extractor fan or the central heating pump? Record thirty seconds of silence and find out.
You do not need acoustic panels to make a useful recording. A duvet over a door, a bookcase full of books, a rug and a sofa will all break up reflections. Avoid recording in a bathroom or kitchen. Avoid sitting directly in front of a bare wall. If the room is very live, move the desk away from parallel walls or drape a thick blanket behind the microphone. The aim is not silence; it is consistency. Record in the same spot, at the same time of day, with the same household noises switched off.
Microphone placement: close, mid and room
Start with the microphone about 20 centimetres from the keyboard, angled down at roughly 45 degrees and pointed between the spacebar and the G and H keys. That position captures the switch and stabiliser sound without putting the capsule right on top of the case, where every finger impact becomes a thump. If you want a brighter, more detailed sound, move slightly closer. If you want to hear the board in the room, move back to 40 or 50 centimetres.
Use a proper interface or recorder if you can, and aim for peaks around minus 12 dBFS. Record at 24-bit and 48 kHz; that is plenty. Disable automatic gain control, noise reduction and any 'enhancement' features. A phone can work in a pinch, but only if you lock exposure and audio settings and keep the phone in the same place every time. Even then, the small microphone and aggressive processing will flatten the differences you are trying to hear.
A repeatable test protocol
Fair comparisons need boring consistency. Use the same desk mat, the same keycaps, the same plate and case, and the same recording position. If you are comparing switches, change only the switches. Record a fixed sequence: one centre key pressed ten times, one modifier key, one stabilised key such as Enter or the left Shift, then a short typed paragraph. Do it three times and keep the takes. Do not edit the sound by adding compression, EQ or reverb. A tiny fade at the start and end is fine; everything else is cheating.
Label the files before you forget what they are. Include the board, plate material, keycap material, switch, lubricant, desk mat and microphone distance. If you are testing a modification, record a before and after in the same session. The room will not change between takes, and your memory will.
Comparing switches without fooling yourself
Level-match the recordings before you judge them. A louder clip almost always sounds better, fuller and more expensive. Use a simple loudness normalisation in your editor, then listen on headphones and on a small speaker. If you can, get someone else to rename the files and play them blind. You will be surprised how often the switch you expected to love finishes third.
Be sceptical of YouTube hype cycles. A sound test is not a review, and a review is not a measurement. Phrases like 'thocky', 'clacky' and 'creamy' are useful shorthand, not scientific categories. The same switch can sound dull in a hollow plastic case and lively in a well-damped aluminium one. If a video sounds incredible, ask what microphone, room and post-processing were used. Then ask whether the board was recorded at the same distance as the one you are comparing it to.
A sensible budget rig
You can build a repeatable setup for around £150 to £250. A basic USB audio interface, a dynamic microphone on a short stand, an XLR cable and a pop filter will cover most needs. Dynamic microphones are less fussy about room noise than condensers and are forgiving in small rooms. Add a cheap measuring tape so you can note microphone distance, and use free software such as Audacity or Reaper's evaluation licence. A folded duvet behind the microphone is more useful than an expensive shock mount at this stage.
If that is too much, start with a decent USB microphone and treat the room first. Record the same board three times in three positions and listen for which one sounds most like the desk in front of you. That is your reference point. Upgrade the microphone only when you can hear its limitation clearly.
Listening back like an editor
When you play the file back, listen for the things you actually notice while typing: the initial snap, the bottom-out, the return, the stabiliser rattle and the case resonance. Check the noise floor between keypresses. If you hear a fridge hum, fix the room before you publish. Keep a short written note with each recording so future you knows what changed.
The best keyboard sound test is not the most cinematic one. It is the one that lets another enthusiast hear the board honestly, warts and all. A little consistency beats a lot of gear.