A Tenner at a Time: Budget Hot-Swap Upgrades That Actually Change a Keyboard

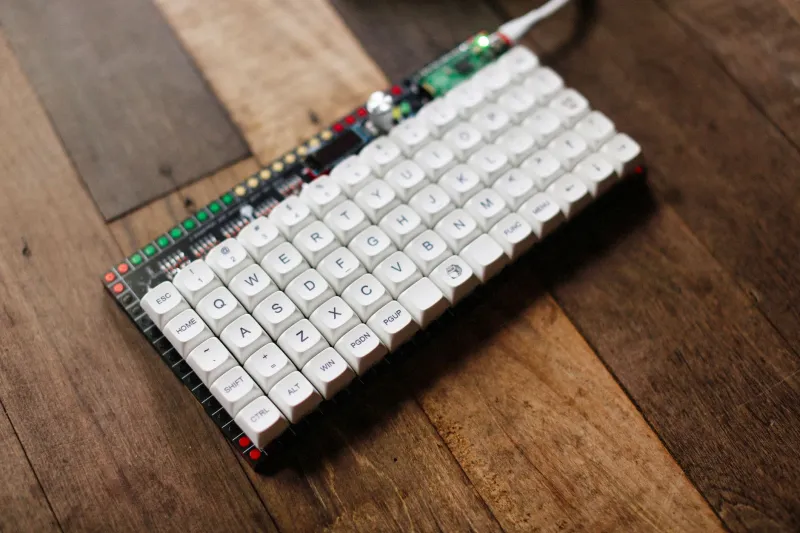
Photo: budget mechanical keyboard hot swap switches keycaps desk UK, via rics.scene7.com
A cheap keyboard with hot-swap sockets is one of the most enjoyable bits of kit in this hobby. It is not a forever board, and it is not trying to be. It is a low-stakes test bed: pull a switch, push another in, change the keycaps, tune the stabilisers, and learn what you actually like before spending serious money. The trick is spending in the right order. Ten quid here and fifteen there can transform a budget board. Ten quid in the wrong place can leave you with a wobbly paperweight and a small pile of incompatible parts.
First, buy a board that deserves the tinkering
The sub-£60 hot-swap market in the UK is patchy. Plenty of listings shout “hot swap” in the title and then turn out to be a soldered board with a fancy photo. Before you buy, check three things: the sockets are described as hot-swap for the switch type you intend to use, the layout is one you can live with, and the seller is either UK-based or clear about VAT and import charges. A bargain from a far-flung warehouse stops being a bargain when the parcel gets held and you pay more than the board cost.
If you want ISO-UK layout, your choices shrink sharply under £60. Most budget hot-swap boards are ANSI, which is fine for many touch-typists but annoying if you rely on the UK Enter key and the £ symbol in its usual place. Decide this before you fall in love with a colourway. Keycaps are easier to change than layout habits.
Good candidates tend to be simple wired boards with standard 60%, 65% or TKL layouts. The Keychron C3 Pro is a common starting point when it is discounted, though check the exact version. Royal Kludge RK61 and RK84 hot-swap variants turn up regularly, but seller descriptions vary, so verify the socket type. Epomaker and Womier budget models can be decent value if you buy from a UK warehouse. CIY kits such as the Gas67 are worth a look if you are happy to supply switches and keycaps separately. None of these are permanent recommendations; stock moves, revisions happen, and a board that is brilliant in March can be a different batch by November. Treat the names as starting points, not gospel.
What you are really looking for is a sensible foundation: a standard bottom row, decent plate support, stabilisers that are not glued in, and a case you can open without feeling like you are defusing a bomb. RGB is nice, but do not pay a premium for it if the money could go on switches.
The tenner-by-tenner upgrade order
Think of a budget board as a series of small, reversible experiments. The first tenner should go on switches, because switches change the feel more than anything else. Buy a sampler if you are unsure, then a full set once you know whether you want linear, tactile or clicky. A 65% board needs around 70 switches; a TKL needs around 90. Cheap switches are not automatically bad, but avoid no-name bundles with wildly inconsistent weights. A set of Gateron, Akko, KTT or Outemu switches in a weight you understand will do more for the board than a flashy keycap set.
If you already like the switches, the next tenner goes on stabiliser tuning. Rattly spacebars make even a good board sound cheap. A small tub of dielectric grease and a brush is cheap, and it lasts for years. You do not need to overdo it. A thin coat on the wire and a little on the housing contact points is enough. Do not fill the stems like you are icing a cake.
The third tenner is keycaps, but only after you have checked the layout. A cheap PBT set with the right bottom-row lengths can make a budget board feel much more substantial. Shine-through ABS can look tired quickly, and ultra-cheap keycaps often have warped spacebars or legends that are more suggestion than typography. If you are buying from a UK seller, check the postage; a £12 keycap set with £6 delivery is no longer a tenner.
Only after those three moves should you consider foam, tape or spring swaps. Case foam from a craft shop can reduce hollow noise, but it must not press on the PCB or block ventilation. The tape mod is popular for a reason, but it is not magic, and it is a bad idea on a wireless board with a battery unless you know exactly what you are doing. Never tape over a battery. Never stuff foam into a case until the PCB flexes.
The mistakes that turn a cheap board into a desk ornament
Hot-swapping is simple, but it is not foolproof. The biggest mistake is pulling a keycap and switch together while the board is still plugged in. Unplug it first. Use a proper switch puller, support the PCB from behind where you can, and pull straight up. Do not wiggle aggressively or lever against the plate. Bent pins are recoverable; torn sockets usually are not.
Check the switch pins before you push. Five-pin switches need the two extra plastic legs to fit the plate; if the plate only supports three-pin switches, do not force them. Likewise, do not jam a switch in backwards. If it will not seat with gentle pressure, stop and look. Do not lubricate the hot-swap sockets. They are electrical contacts, not tiny hinges, and grease attracts dust.
Be careful with stabilisers. Plate-mount and PCB-mount parts are not interchangeable without the right support. If you are unsure, leave the originals alone until you have watched a proper teardown of your exact board. And do not overtighten case screws when you put it back together. Plastic threads strip easily, and a case that creaks is more annoying than one with a little flex.
Finally, resist the urge to upgrade everything at once. Do switches first, live with them for a week, then tune the stabilisers, then try keycaps. That way you know what changed and what you liked. A budget hot-swap board is not about pretending you own an endgame keyboard. It is about learning cheaply, keeping the parts you like, and knowing when a tenner has earned its keep.